Understanding Soil Test Results
How to Read and Interpret Your Soil Test Kit
Want a lawn that turns heads and stands out in the neighborhood? It all starts with understanding what your lawn actually needs—and a soil test gives you that answer.
The Yard Mastery Soil Test Kit makes it easy to measure nutrient levels and soil pH, then gives you a customized fertilizer program inside our free app. Whether you’re a DIY beginner or a lawn care nut, this guide walks you step-by-step through the entire process of testing, reading, and applying your results.
Download the Yard Mastery App →
Why Should You Soil Test Your Lawn?
Let’s be honest—you don’t need a soil test to have a green lawn. But if you want a dominant lawn that grows thicker, greener, and stronger every season, soil testing is the best way to get there faster. It’s like getting bloodwork done before starting a new workout program.
- Find out what your lawn is missing—Nitrogen? Phosphorus? Potassium?
- Identify your soil pH and whether it’s locking out nutrients
- Stop guessing and applying the wrong products
A soil test gives you real data. From that, you can build a fertilizer plan that fuels results all season long—customized for your region, grass type, and soil health.
How to Use the Yard Mastery Soil Test Kit
- Collect soil samples from 4–6 areas in your lawn (3–4 inches deep). Mix them in a clean container.
- Fill the included sample bag with your blended soil and seal it.
- Register your kit online at app.yardmastery.com.
- Mail it in using the prepaid envelope.
- Get your results in the app 10–14 days later with a customized lawn plan.
Here's a video tutorial if you want to see it step-by-step.
Once you receive your results, the Yard Mastery app unlocks your Soil Test-Informed Lawn Program (STILP), giving you seasonal recommendations for fertilizers, soil amendments, and bio-stimulants.
The Four Lawn Care Fundamentals You Control
Lawn care is a weather-driven hobby—but there are four key factors you can control. Get these right, and your lawn will thrive no matter what your soil test says.
1. Grass Coverage
If you have at least 30% grass coverage, you're ready to improve your lawn. Less than that? Time to seed, sod, or plug. Follow the 30% Rule here.
2. Watering
Every living thing needs water. You must irrigate during dry periods—deep and infrequent is the rule. Learn more in the Tuna Can Challenge video.
3. Mowing
Mowing frequently is like cardio and weight training for your lawn. It stimulates thicker growth, strengthens the turf, and helps choke out weeds. Follow the ⅓ rule: never remove more than a third of the blade in one mow.
4. Fertilizing (Nitrogen & Iron)
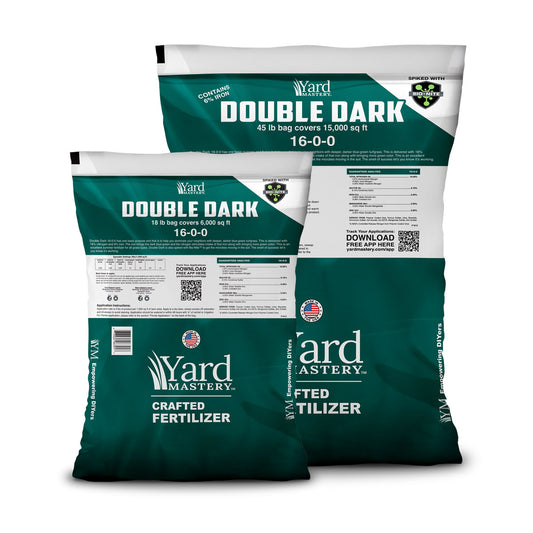
Apply fertilizer with Nitrogen (N) and Iron (Fe) every 4–5 weeks during the growing season. Nitrogen fuels growth and color. Iron deepens green. My go-to? 24-0-6 Flagship.
Remember: "Nitrogen drives the bus."
How to Read Fertilizer Labels: N-P-K Explained
Every bag of fertilizer shows three numbers like 24-0-6. This stands for:
- Nitrogen (N) – Blade growth & green color
- Phosphorus (P) – Root development
- Potassium (K) – Stress tolerance & hydration
These are your lawn’s macronutrients—needed in large amounts. Use this info when choosing your seasonal fertilizer strategy.
Understanding Soil pH
Your soil pH determines how well your lawn can absorb nutrients. Ideally, it should fall between 6.0 and 7.0.
Too acidic or alkaline? Nutrients may be “locked out,” even if they’re present in the soil. The fix: apply Magi-Cal for acidic soils or Magi-Cal for alkaline soils in spring and fall to adjust slowly over time.
Note: pH adjustment is a long game. Plan to apply pH-correcting products twice a year for a few seasons.
Interpreting Your Soil Test Based on Grass Type
Warm-Season Lawns (Bermuda, St. Augustine, Zoysia, Centipede, Bahia)
- Grow aggressively via stolons and rhizomes
- Apply Nitrogen every 4–5 weeks to fuel lateral growth
- Use Flagship or Freedom for thickening
Cool-Season Lawns (Kentucky Bluegrass, Fescue, Rye)
- Shorter season, less aggressive spread
- Focus on Nitrogen-heavy fertilizers in spring/fall
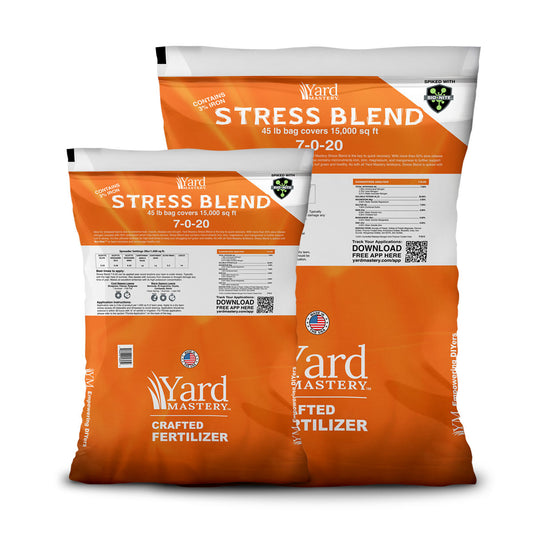
- Use low-Nitrogen, high-K blends like Stress Blend in summer
Tip: The Yard Mastery app will adjust product recommendations based on your grass type and soil test results.
Build a Fertilizer Plan Based on Your Soil Test
Once you receive your test results, use them to create a plan that addresses your lawn’s specific needs. You don’t need to fix everything all at once—just steer the ship in the right direction each season.
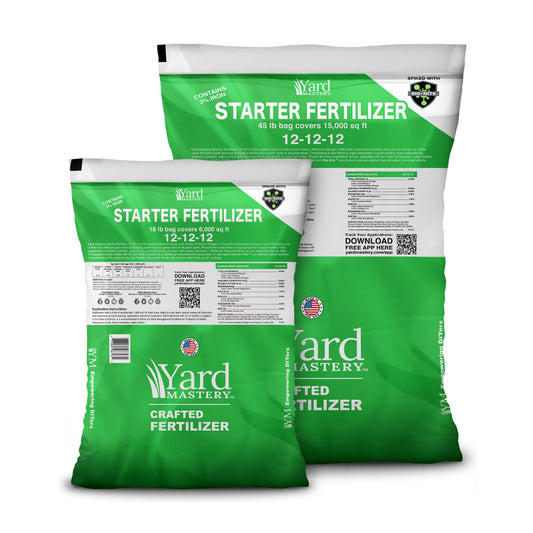
If your lawn is low in Phosphorus and Potassium, a great first choice is:
- 12-12-12 Starter Fertilizer – Balanced NPK + micros
From there, rotate in other blends based on season and lawn response:
- 7-0-20 Stress Blend – Perfect for mid-summer stress periods
- 17-7-6 Freedom – Balanced and patriotic for Independence Day
- 24-0-6 Flagship – Ideal for pushing growth and dark green color
Rule: Every macro-fert application should include Nitrogen. It fuels the lawn’s progress season after season.
Bio-Stimulants & Micronutrient Supplements
Apply bio-stimulants between macro-fertilizer apps to improve soil health, increase nutrient uptake, and feed beneficial microbes.
- 5-0-1 Spoon Juice – Light Nitrogen + humic acid + kelp
- 0-0-2 MicroGreene – Packed with micronutrients like Iron, Manganese, and Zinc
Use Spoon Juice weekly (3 oz/1,000 sq ft) or apply MicroGreene every 4–6 weeks at 6 oz/1,000 sq ft. These products keep your soil biology active and your turf pushing forward.
Use the Yard Mastery App for Your Custom Lawn Plan
The Soil Test-Informed Lawn Program (STILP) inside the Yard Mastery app creates a year-round fertilizing plan customized to your soil test results. It factors in your grass type, growing zone, and nutrient levels.
Simply toggle the "Use Soil Test" switch inside the calendar view and your schedule will auto-populate.
Key Lawn Care Guidelines (Recap)
- Apply macro-fert every 4–5 weeks (always include Nitrogen)
- Use micro-ferts and bio-stimulants in between applications
- Follow your custom program in the app or build one manually
- Use soil test data to inform—not overwhelm—your decisions
- Commit to the mow. Commit to the water. Throw’er down!
Frequently Asked Questions
What if my test shows something is “too high”?
No worries. Just avoid adding more of that nutrient. It won’t harm your lawn.
How long does it take to adjust my soil pH?
pH adjustments are slow—think in seasons, not weeks. Apply spring and fall for 1–3 years depending on how far out of range your pH is.
How do I know if the lawn is responding?
If it looks better 7–10 days after you fertilize, you’re doing it right. You’re on track. Keep going.
How often should I soil test?
Once per year is plenty—usually in early spring or late fall.
Can I use the app without a soil test?
Yes! The Yard Mastery app has a general schedule based on grass type and region. But the soil test unlocks more precision and personalization.
Ready to Throw’er Down?
Take the guesswork out of lawn care. Order your Yard Mastery Soil Test Kit today and get the data, direction, and lawn domination you’ve been looking for.
Need extra support? Join Yard Care Bootcamp to learn the lawn care fundamentals from scratch.
- Choosing a selection results in a full page refresh.